


WordPress is a popular content management system used to create and manage websites. It is open source, free to use, and has a large community of users and developers who contribute to its growth and development. It is known for its ease of use, flexibility, and scalability. While it was originally designed for blogging, it has evolved into a platform that can be used for a variety of purposes, including ecommerce..

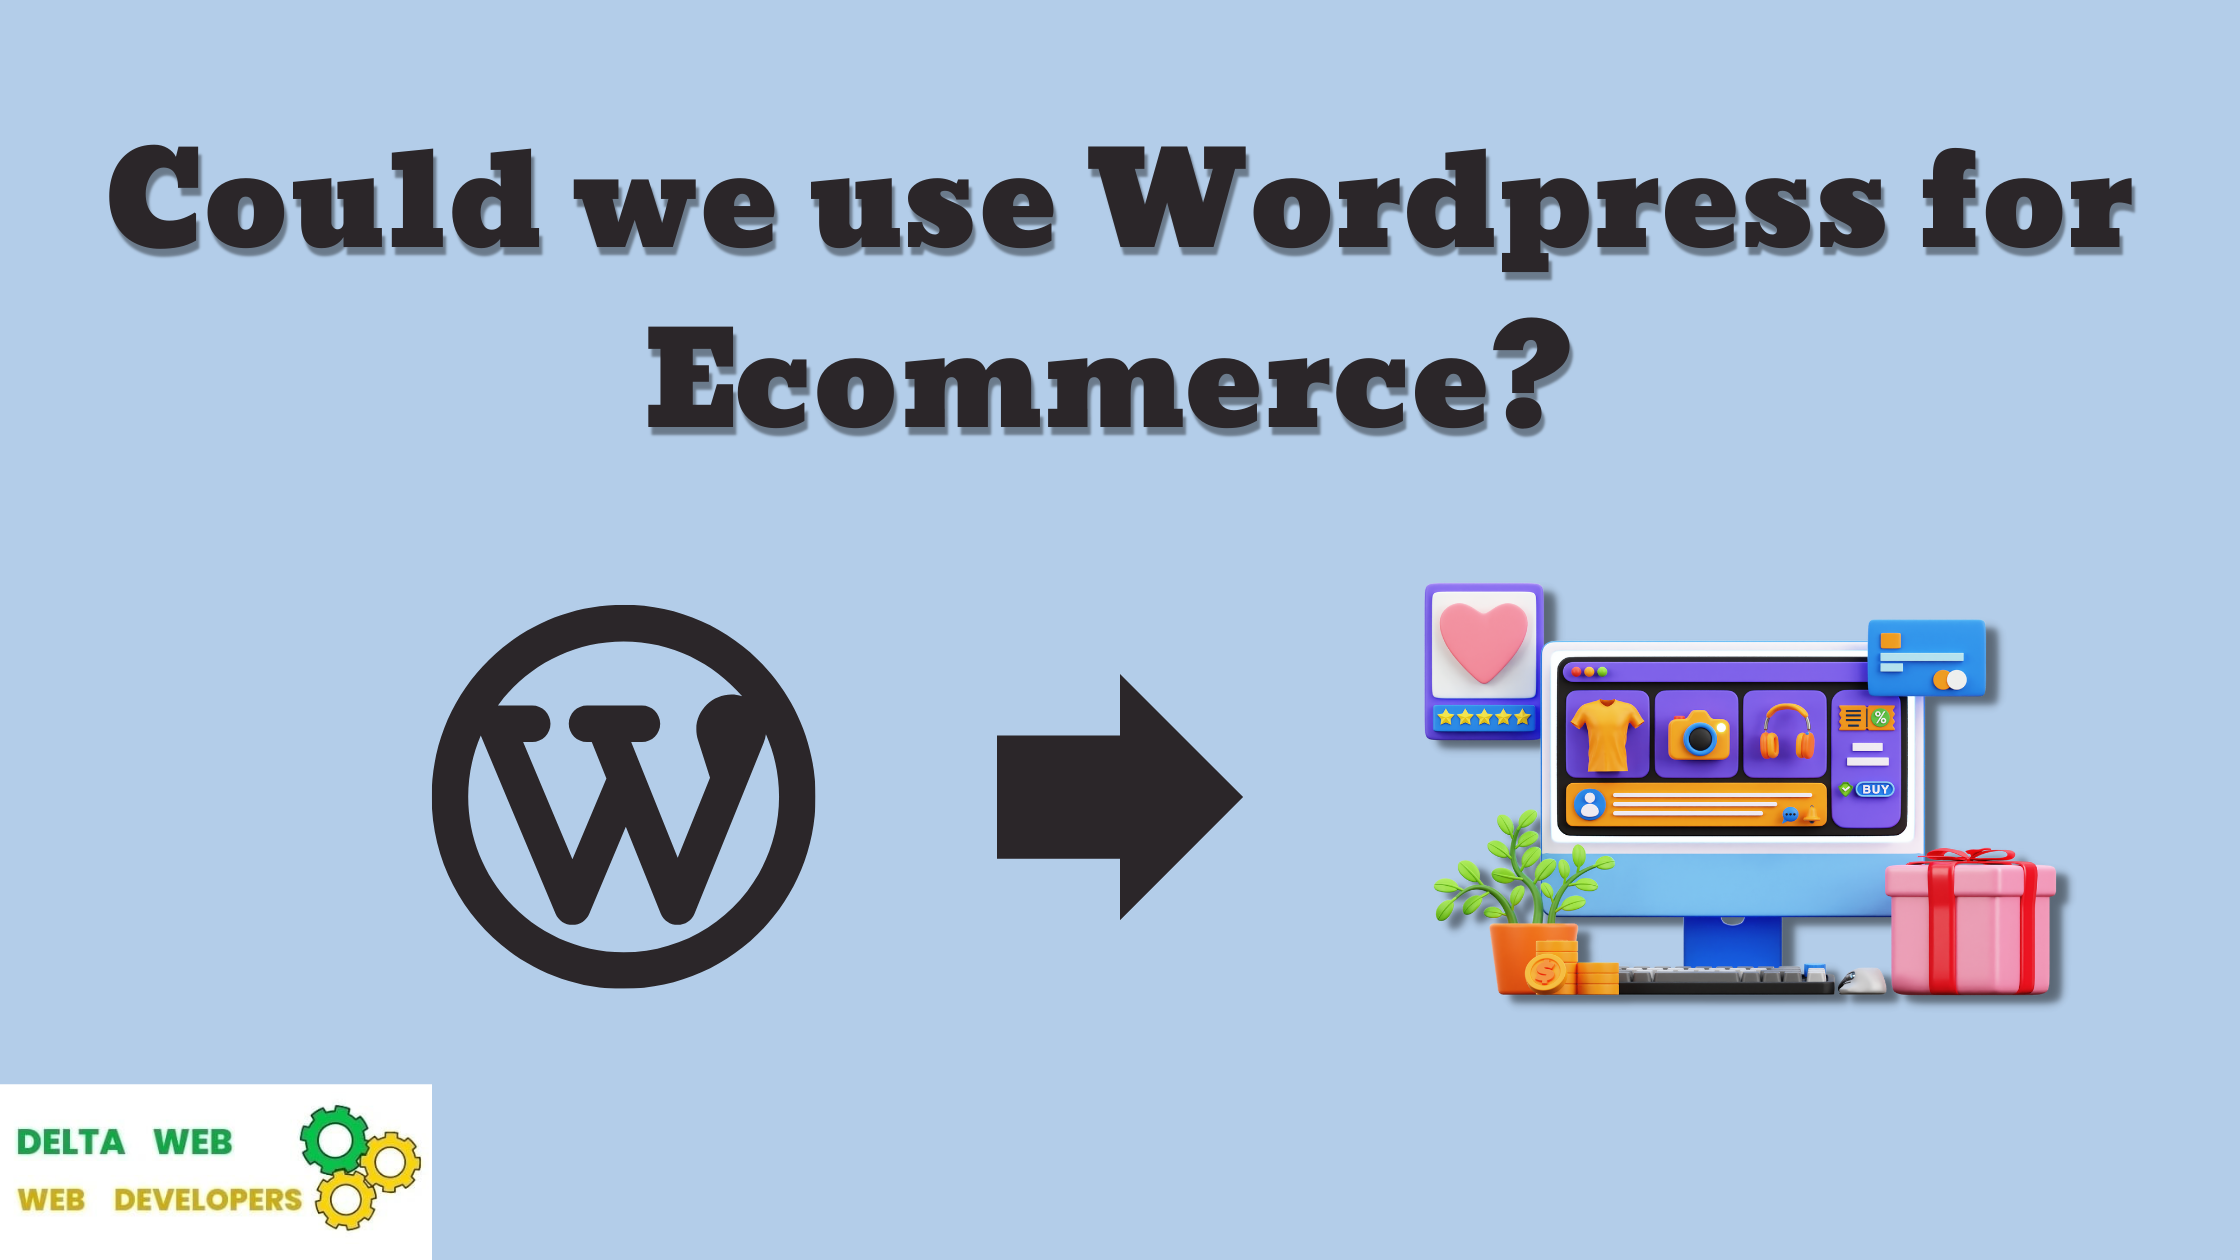
Yes, WordPress can be used for ecommerce. While it was originally designed for blogging, it has evolved into a platform that can be used for a variety of purposes, including selling products and services online. There are many ecommerce plugins available for WordPress, such as Woo Commerce, which can be used to create an online store with features such as product listings, shopping carts, and payment processing. However, it’s important to note that while WordPress can be a good option for small to medium-sized online stores, larger stores with more complex needs may require a more specialized ecommerce platform.
Flexibility and Customization: WordPress is highly flexible and customizable, making it suitable for various types of ecommerce websites. You can choose from a wide range of themes and plugins specifically designed for ecommerce, allowing you to create a unique online store that matches your brand and vision.
WordPress is highly flexible and customizable, making it suitable for various types of ecommerce websites. You can choose from a wide range of themes and plugins specifically designed for ecommerce, allowing you to create a unique online store that matches your brand and vision.

Woo Commerce Integration: Woo Commerce is a powerful ecommerce plugin for WordPress, enabling you to add ecommerce functionality to your website seamlessly. It provides features like product management, shopping carts, checkout processes, and secure payment gateways.
Woo Commerce is a popular open-source e-commerce plugin for WordPress that allows you to turn your WordPress website into an online store. It provides various features for selling products and services, managing inventory, handling payments, and more. If you’re looking to integrate Woo Commerce into your website, here are the basic steps to get you started:

Install WordPress: If you don’t have WordPress installed, you’ll need to set it up first. You can download it from the official WordPress website and follow their installation instructions.
Install Woo Commerce: Once WordPress is set up, you can install the Woo Commerce plugin. Here’s how:
- Log in to your WordPress admin dashboard.
- Navigate to “Plugins” > “Add New.”
- Search for “Woo Commerce.”
- Click “Install Now” and then “Activate.”
Configure Woo Commerce Settings: After activating Woo Commerce, you’ll be guided through a setup wizard to configure basic settings such as your store’s location, currency, payment methods, shipping options, and more.
Add Products: You can start adding products to your Woo Commerce store. Navigate to “Products” > “Add New” to create individual product listings. You can add product names, descriptions, images, prices, and more.
Choose a Theme: You can enhance the appearance of your Woo Commerce store by using a compatible WordPress theme. Many themes are designed specifically to work well with Woo Commerce, providing a seamless shopping experience.
Customize Your Store: Woo Commerce offers various customization options to match your branding and style. You can customize colors, fonts, layouts, and more. Some themes might also have additional customization options.
Install Extensions: Woo Commerce offers a wide range of extensions that add extra features to your store. These could include payment gateways, shipping methods, marketing tools, and more. Some extensions are free, while others are paid.
Set Up Payment Gateways: Woo Commerce supports various payment gateways like PayPal, Stripe, and more. You’ll need to set up your preferred payment methods so that customers can make purchases on your site.
Configure Shipping: Depending on what you’re selling, you’ll need to set up shipping options and rates. Woo Commerce allows you to configure different shipping zones, methods, and costs.
Test Your Store: Before launching your store, it’s a good idea to thoroughly test the purchasing process to ensure everything is working as expected. Make test orders, try different payment methods, and ensure that your checkout process is smooth.
Launch Your Store: Once you’re satisfied with the setup and testing, you can officially launch your Woo Commerce store and start promoting it to potential customers.
Remember that Woo Commerce has an extensive documentation and support community to assist you throughout the process. If you encounter specific issues or need more advanced integrations, you might also consider consulting with a developer who has experience with Woo Commerce and WordPress.
Cost-Effective: WordPress itself is open-source and free to use, and many ecommerce-related plugins offer free basic functionalities. This can significantly reduce the initial cost of setting up an online store compared to dedicated ecommerce platforms.
Content and Commerce Integration: If you already have a content-rich website on WordPress, integrating ecommerce functionality using Woo Commerce allows you to maintain a consistent user experience for both content consumption and shopping.
Vast Plugin Ecosystem: WordPress has a massive library of plugins that extend its functionality. For ecommerce, you can find plugins for SEO optimization, email marketing, analytics, inventory management, and more. This allows you to tailor your store’s features to your specific needs.
SEO-Friendly: WordPress is known for its search engine optimization (SEO) capabilities. With proper optimization practices and the use of SEO plugins, you can improve your online store’s visibility on search engines, driving more organic traffic.
User-Friendly Interface: Managing products, orders, and customer data in WordPress is relatively user-friendly, making it accessible even for those without extensive technical knowledge.
Mobile Responsiveness: Many WordPress themes are designed to be mobile-responsive, ensuring that your ecommerce site looks and functions well on various devices, which is crucial for a positive user experience and SEO.
Security: While security is a concern for any online platform, WordPress has improved its security measures over the years. Regular updates, security plugins, and following best practices can help safeguard your ecommerce site.
Scalability: While WordPress may not handle extremely large and complex ecommerce operations as well as some dedicated platforms, it can still scale to accommodate growing businesses. Proper hosting, caching, and optimization practices are essential for maintaining performance as your store grows.
Community and Support: WordPress has a large and active community of developers, designers, and users who contribute to its growth and development. This means you can find extensive documentation, tutorials, forums, and expert help if you encounter issues or want to enhance your store.
Internationalization: WordPress and Woo Commerce support multiple languages, currencies, and tax settings, making it suitable for international ecommerce ventures.
Despite its advantages, it’s important to note that using WordPress for ecommerce might not be the best choice for every business. Larger enterprises with complex needs might find more specialized platforms better suited to their requirements. However, for smaller to medium-sized businesses or those already familiar with WordPress, it can be a cost-effective and versatile solution for setting up an online store.